Sales Invoices can be exported to FreeAgent using Invoice Export Profile. In addition, you can configure to export customers and their addresses.
Invoice Export Overview
- Locate the profile
- General Configuration
- Schedule Configuration
- Http API Configuration
- Store Configuration
- Submission Configuration
- Contact Configuration
- Invoice Configuration
- Payment Configuration
- Log Configuration
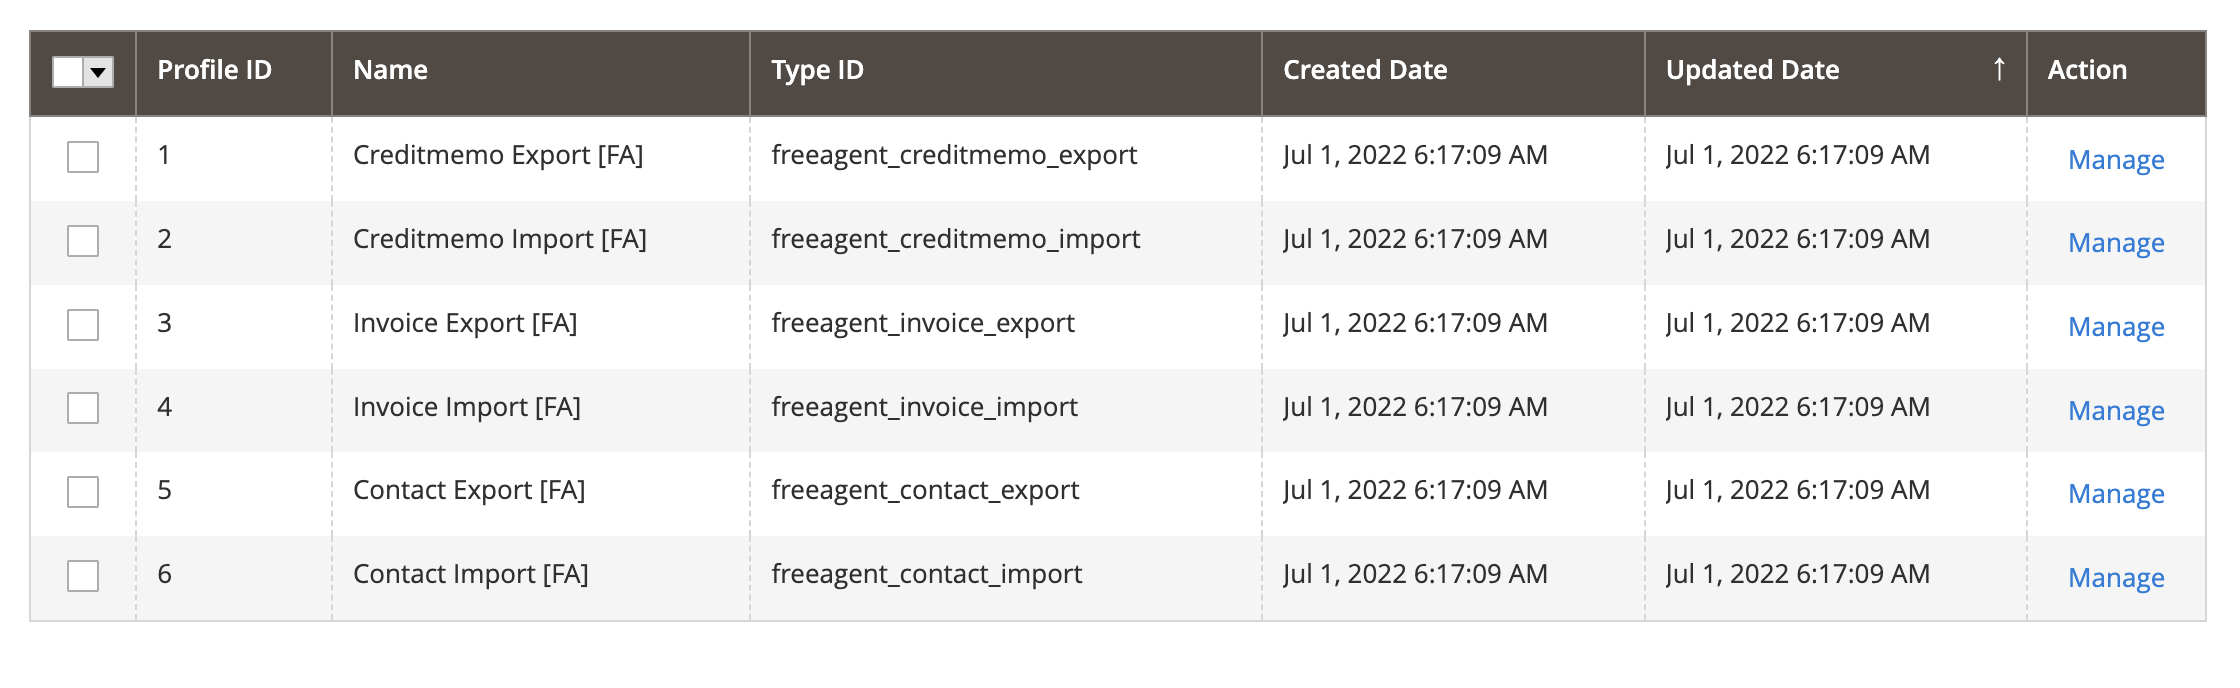
Locate the profile
- On the Admin sidebar, go to SoftCommerce > Profiles > Manage Profiles.
- From the list of profiles choose Invoice Export [FA].
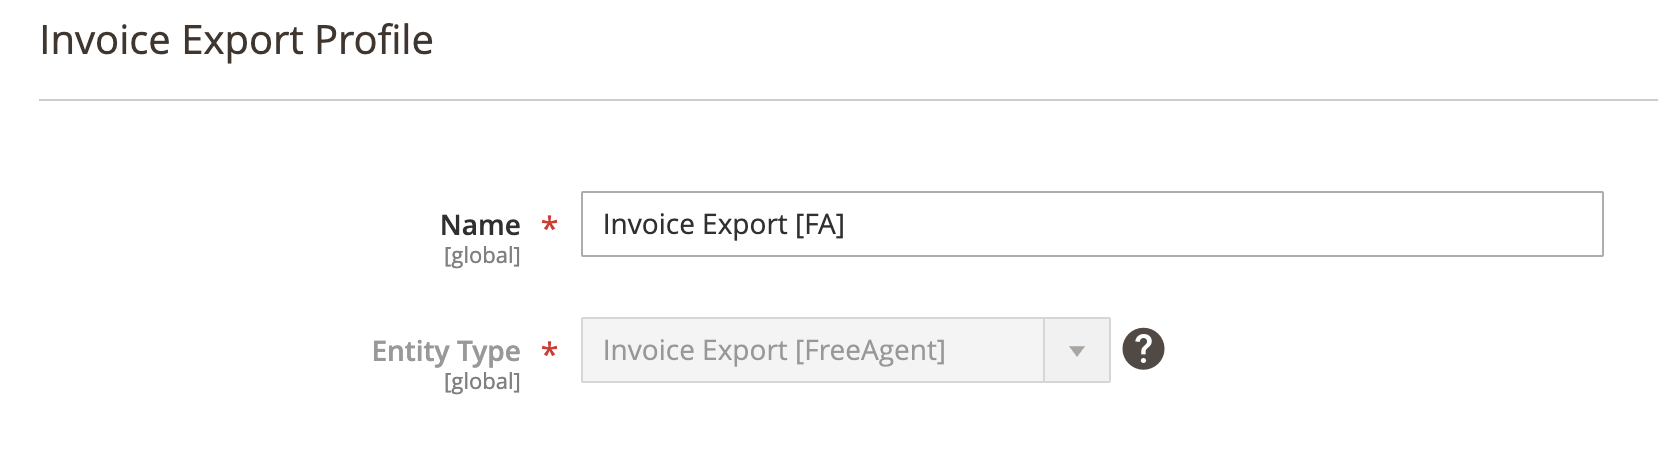
General Configuration
- Name — Edit profile internal name. For example, Invoice Export.
- Profile Type - This selection cannot be edited once the profile has been created. To change profile type ID, the profile needs to be deleted and new one created.
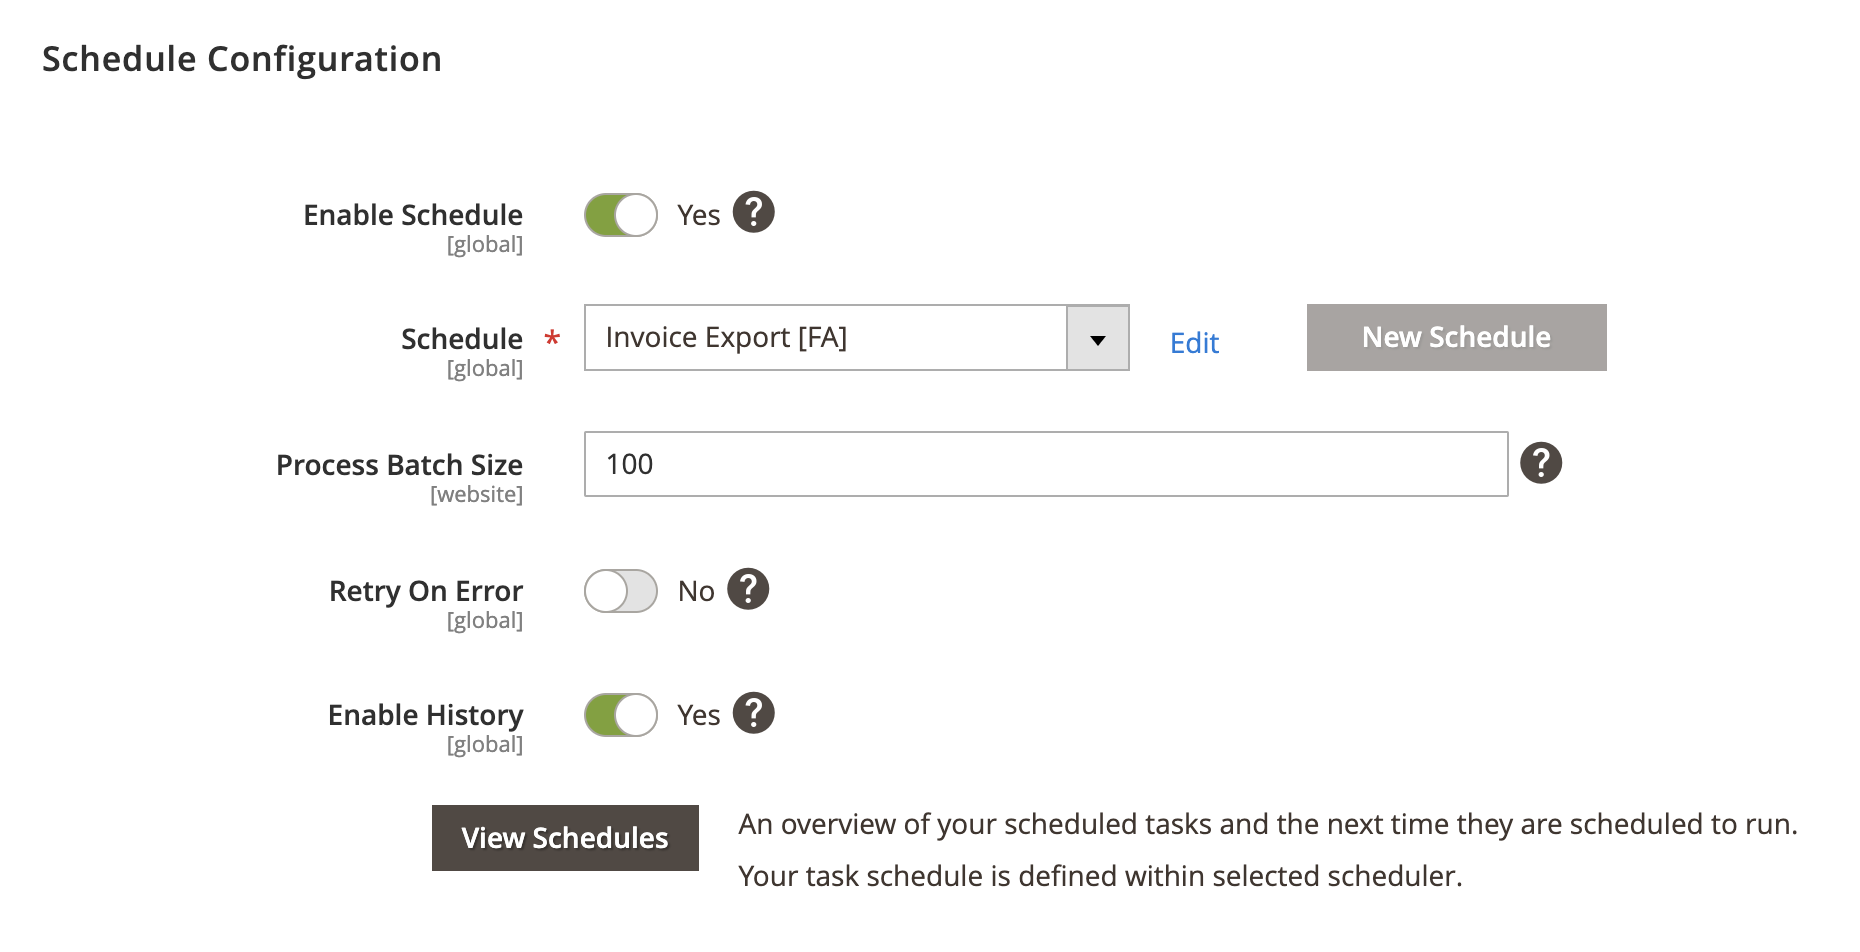
Schedule Configuration
Expand the Schedule Configuration section and do the following:
- Enable Schedule — Select Yes/No to enable / disable automatic Invoice export using cron scheduler task.
- Schedule - Select, create or edit particular schedule task.
- Process Batch Size - Enter numeric value for process batch size. We recommend setting this to 100.
- Enable History - Select Yes/No to enable / disable schedule history.
- View Schedules - Click on view schedule button to view recent schedule history.
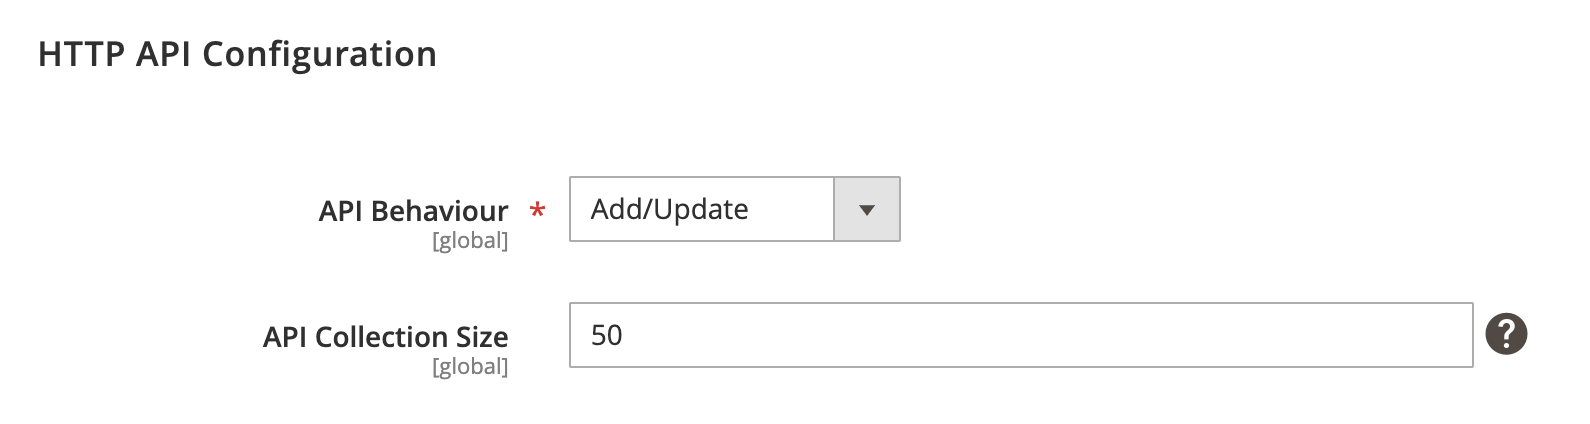
Http API Configuration
Expand the Http API Configuration section and do the following:
- API Behaviour - Select Add/Append or Replace
- API Collection Size - Enter numeric value for number of items returned per page by API requests. Min: 25. Max: 100.
Add/Append behaviour collects recently updated data, replace behaviour collects all data.
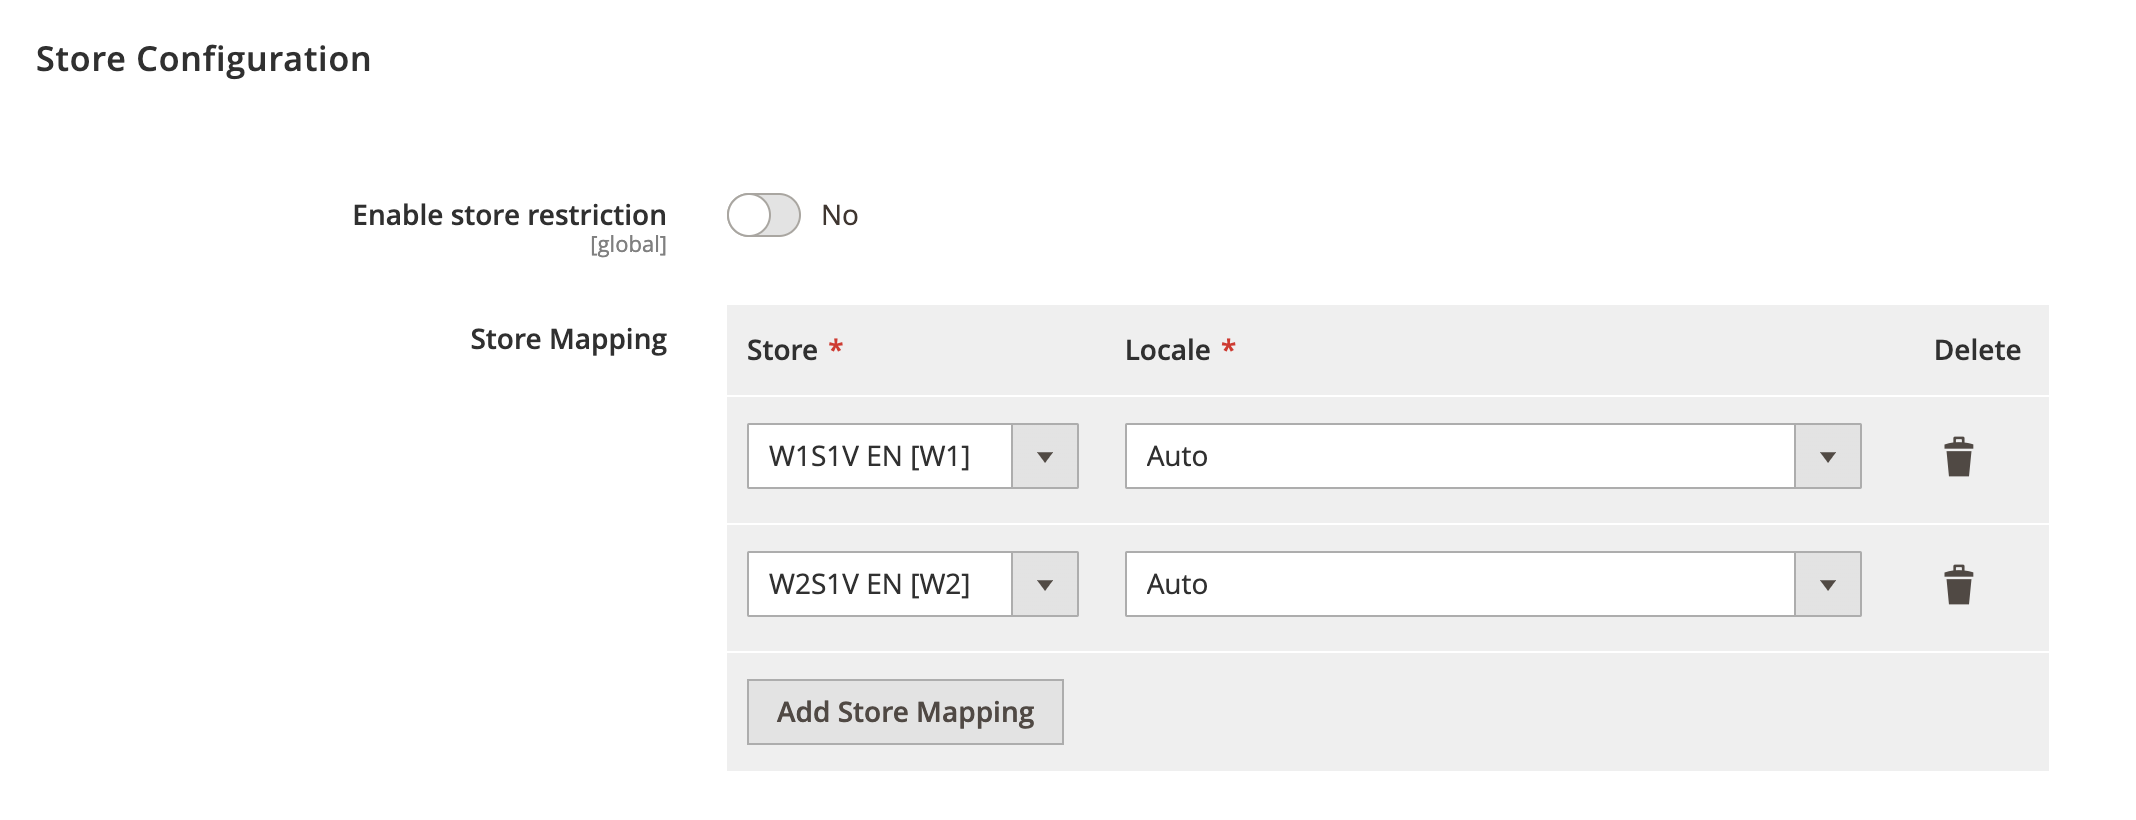
Store Configuration
Expand the Store Configuration section and do the following:
- Enable store restriction - Select Yes/No to restrict creditmemo export by store.
- Store Mapping - Map applicable stores and locales.
- Store - Select Magento store.
- Locale - Select applicable locale.
Submission Configuration
Expand the Submission Configuration section and do the following:
- Submission Event Type - Select applicable even type that’s used to create an invoice. Available types: Order or Invoice.
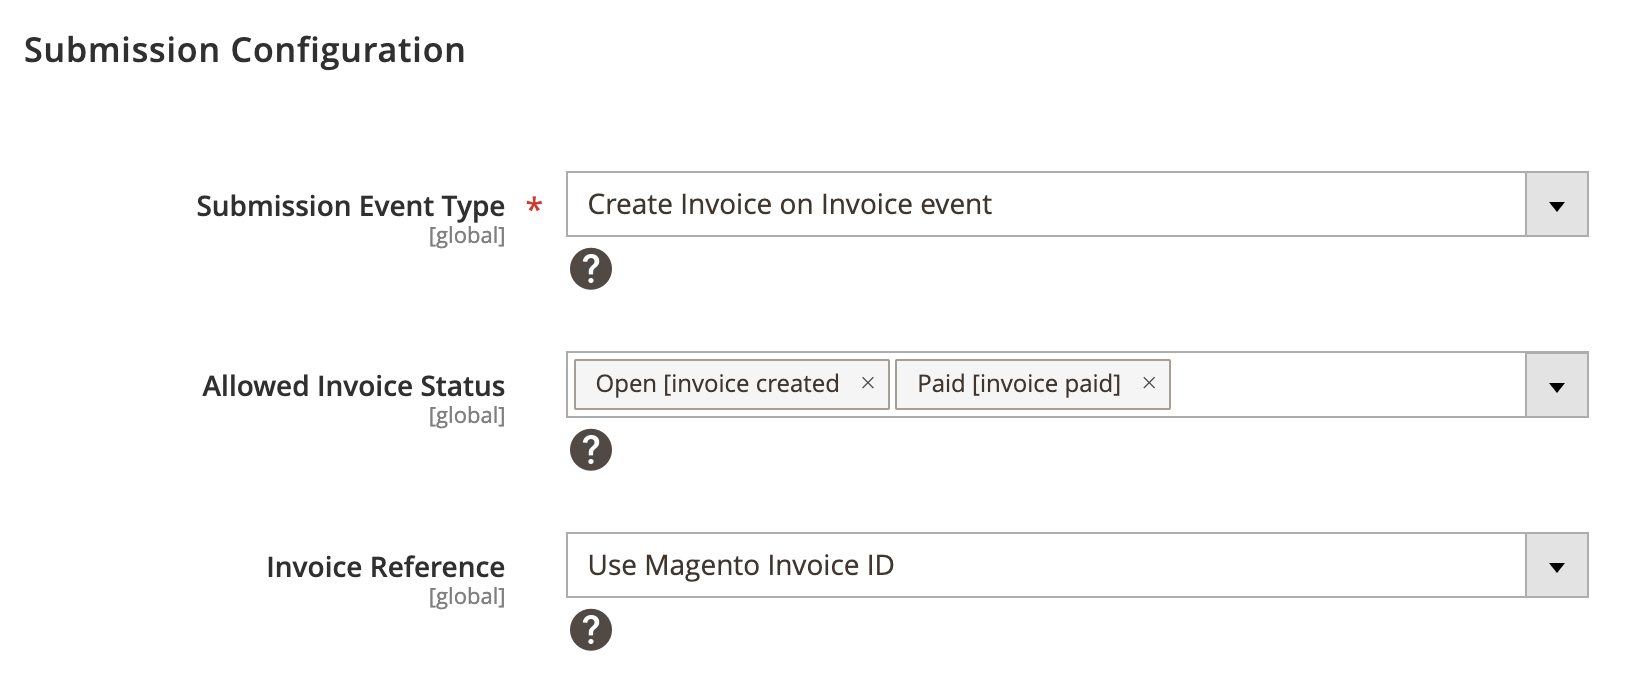
Event type Invoice: Creates invoices based on Magento invoices.
Submission Event Type: Invoice
- Allowed Invoice Status - Select applicable status to allow invoice export.
- Invoice Reference - Select applicable invoice reference. Available references: FreeAgent Global Sequencing, Magento Invoice ID or Magento Order ID.
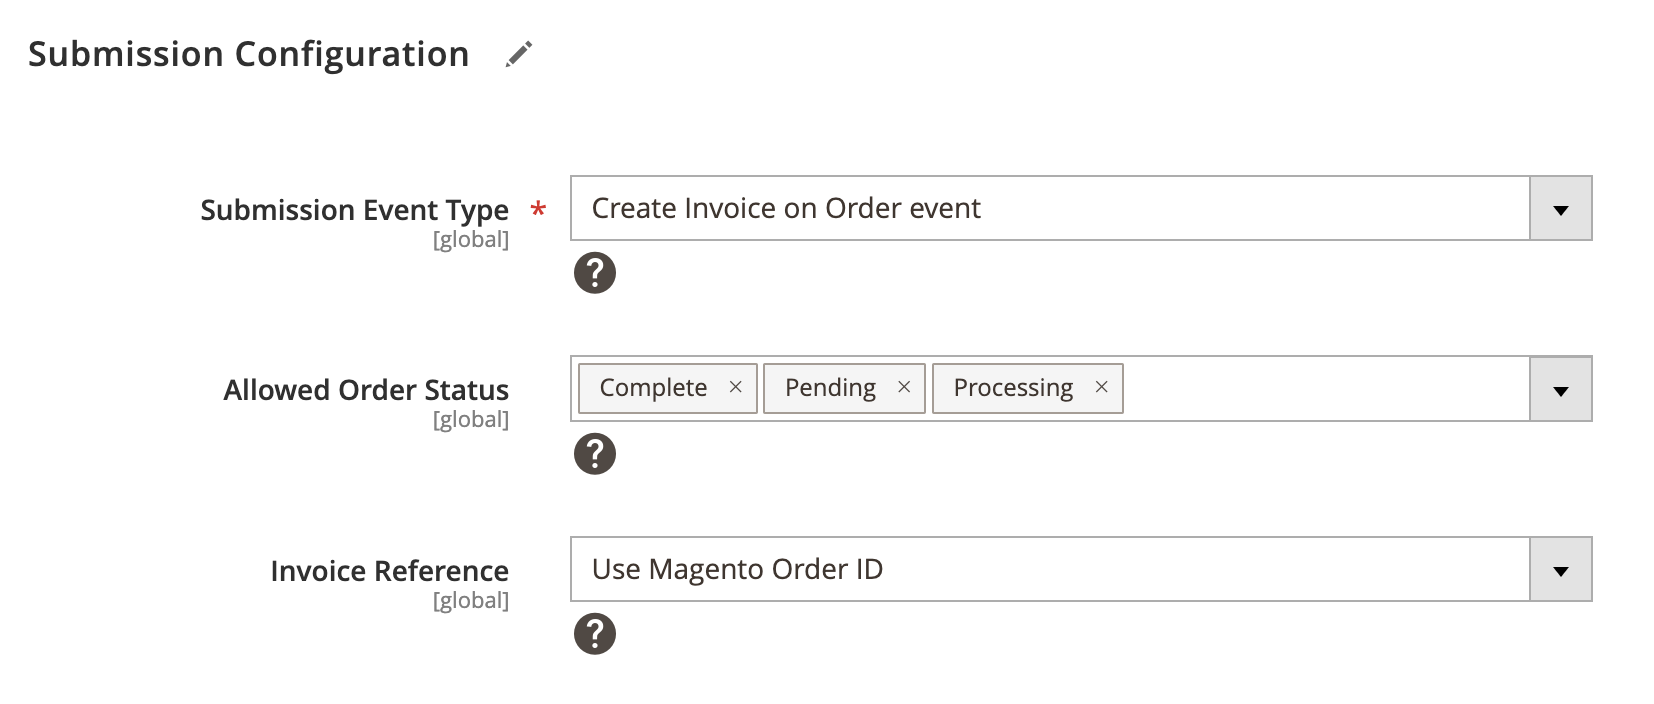
Event type Order: Creates invoices based on Magento orders.
Submission Event Type: Order
- Allowed Order Status - Select applicable order status to allow invoice export.
- Invoice Reference - Select applicable invoice reference. Available references: FreeAgent Global Sequencing or Magento Order ID.
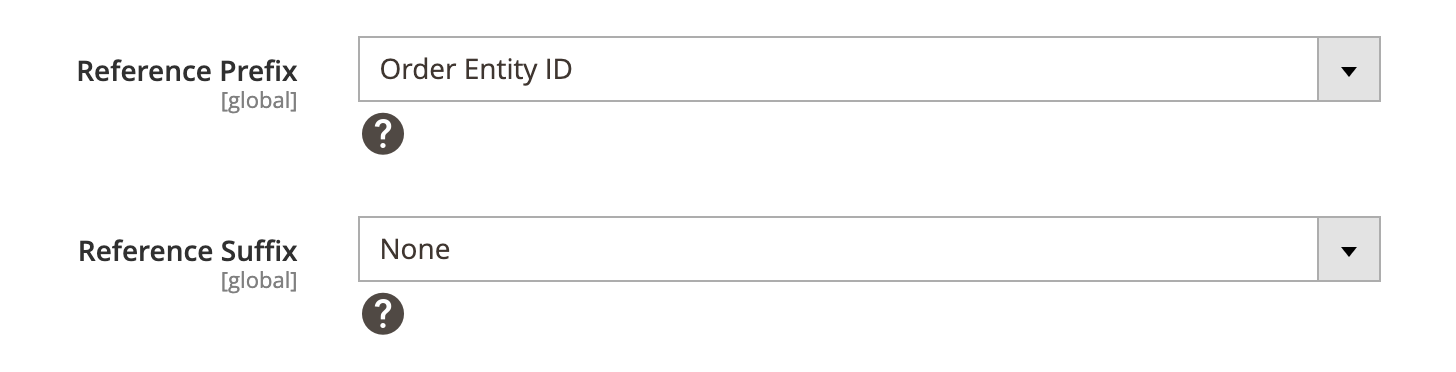
- Reference Prefix - Select applicable reference prefix. Available options: Order entity ID, Store ID, Store Code or Custom Input.
- Reference Suffix - Select applicable reference suffix. Available options: Order entity ID, Store ID, Store Code or Custom Input.
Prefix example: [order-entity-id]-[invoice-increment-id].
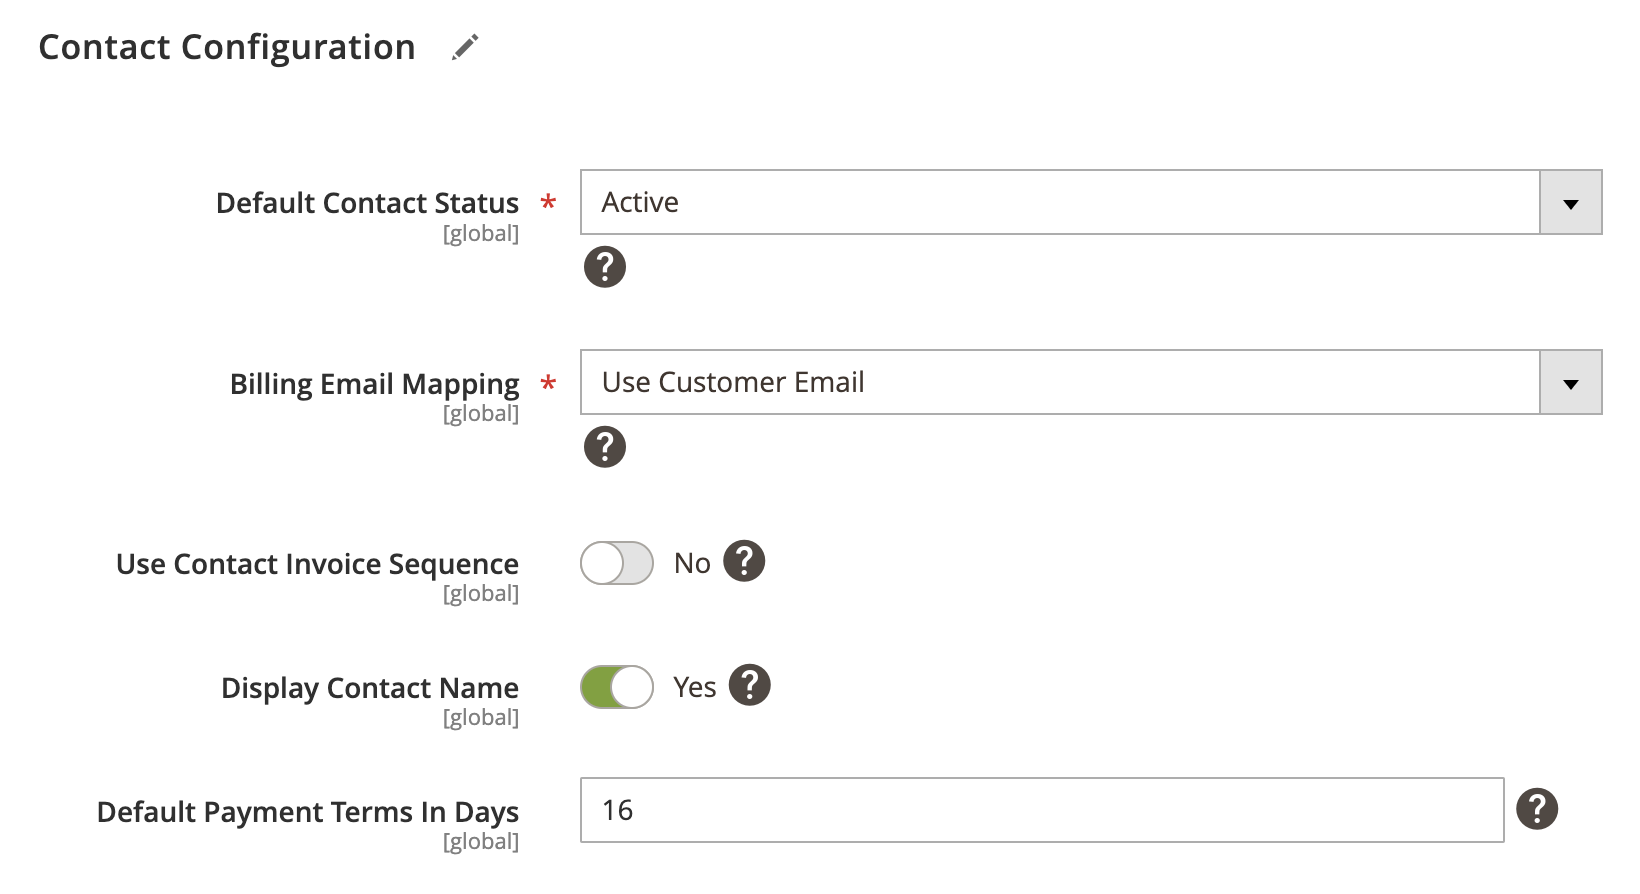
Contact Configuration
Expand the Contact Configuration section and do the following:
- Default Contact Status - Select default status when contact is created.
- Billing Email Mapping - Select applicable email that can be used for contact email when contact is created.
- Use Contact Invoice Sequence - Select Yes/No to enable / disable an option to use contact-level invoice sequence.
- Display Contact Name - Select Yes/No to enable / disable an option to display contact name on the invoice.
- Default Payment Terms In Days - Enter number of day for default payment terms.
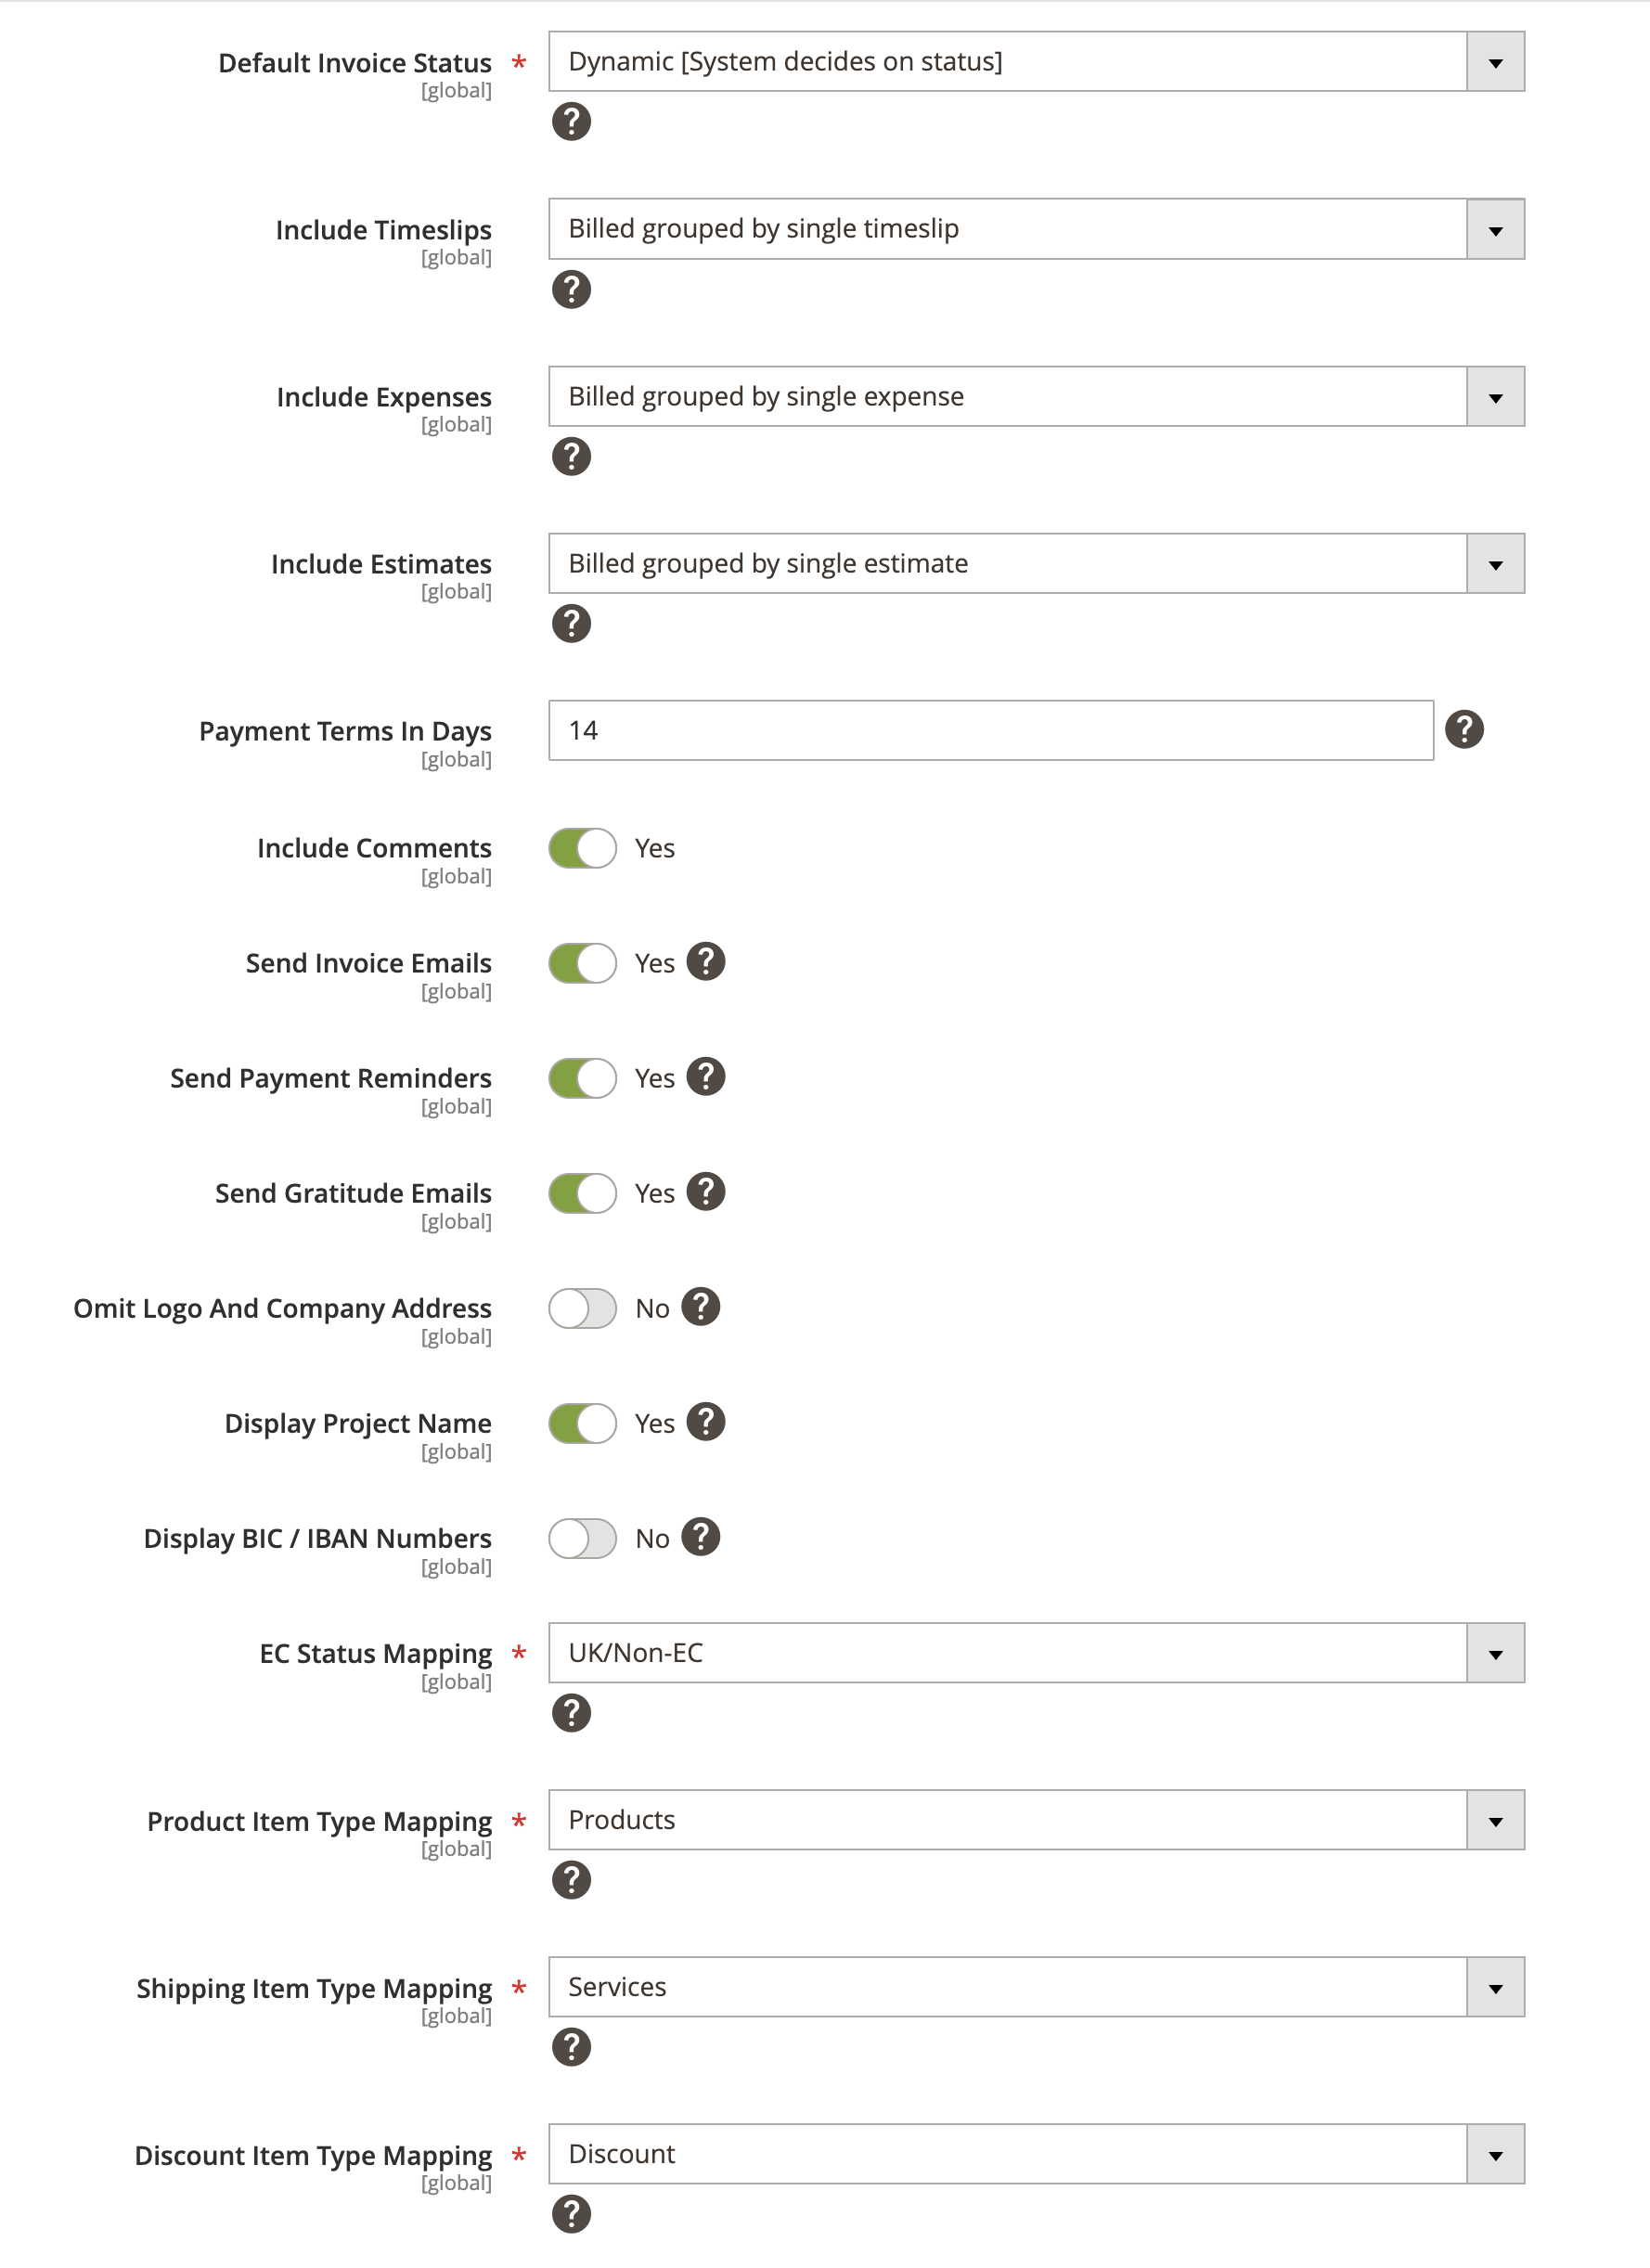
Invoice Configuration
Expand the Invoice Configuration section and do the following:
- Default Invoice Status - Select default status when invoice is created.
- Include Timeslips - Select applicable timeslips that can be displayed on the invoice.
- Include Estimates - Select applicable estimates that can be displayed on the invoice.
- Payment Terms In Days - Enter number of day for default payment terms. Set to zero to display ‘Due on Receipt’ on the invoice.
- Include Comments - Select Yes/No to enable / disable additional text added to the bottom of the invoice.
- Send Invoice Emails - Select Yes/No to enable / disable an option to email the invoices automatically using your default template.
- Send Payment Reminders - Select Yes/No to enable / disable an option to email payment reminders if the invoice goes unpaid.
- Send Gratitude Emails - Select Yes/No to enable / disable an option to email a “Thank You” once this invoice has been paid.
- Omit Logo And Company Address - Select Yes/No to enable / disable an option to omit your logo and company address.
- Display Project Name - Select Yes/No to enable / disable an option to display the project name in the Other Information section.
- Display BIC / IBAN Numbers - Select Yes/No to enable / disable an option to display the BIC and IBAN numbers, if defined, on the invoice.
- EC Status Mapping - Select applicable EC invoice’s VAT status for reporting purposes.
- Product Item Type Mapping - Select applicable product item type that’s used to create invoice items.
- Shipping Item Type Mapping - Select applicable shipping item type that’s used to create invoice items.
- Discount Item Type Mapping - Select applicable discount item type that’s used to create invoice items.
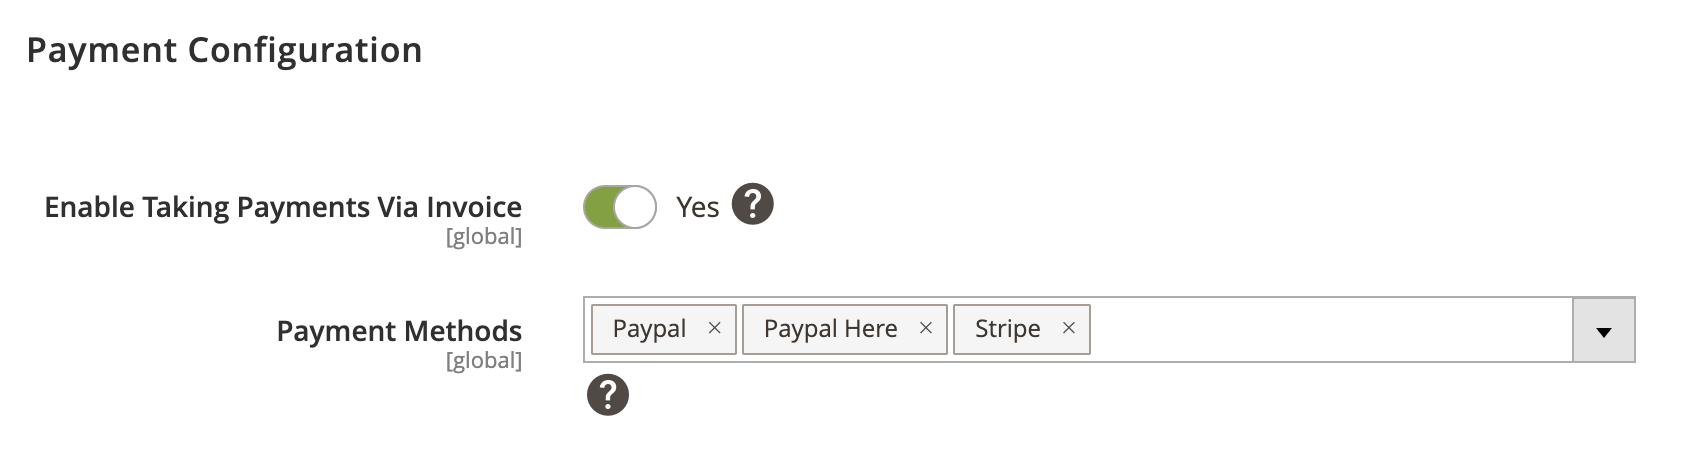
Payment Configuration
Expand the Payment Configuration section and do the following:
- Enable Taking Payments Via Invoice - Select Yes/No to enable / disable an option to take payments via invoice.
- Payment Methods - Select allowed payment methods.
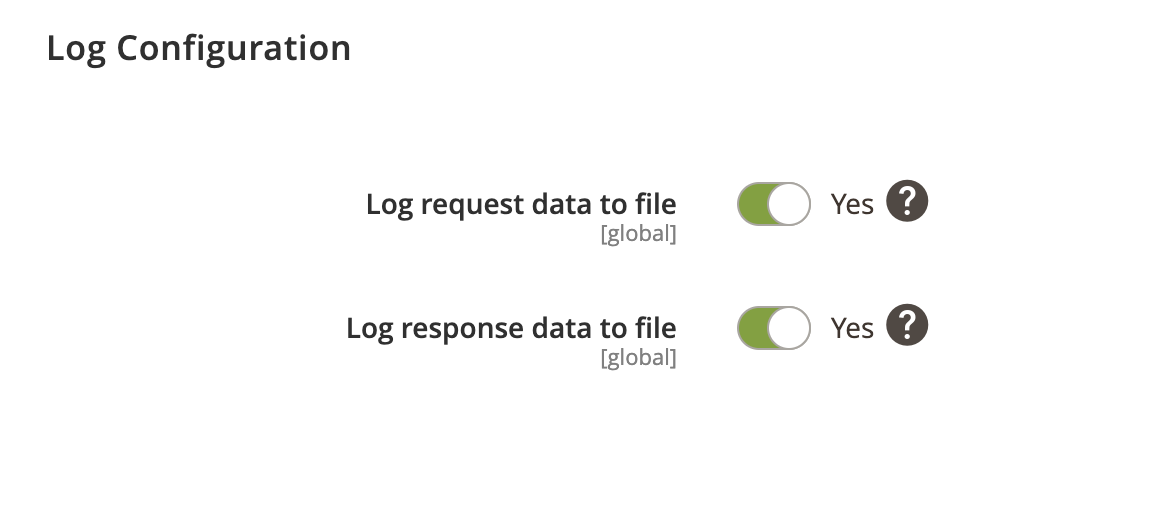
Log Configuration
Expand the Log Configuration section and do the following:
- Log request data to file - Select Yes/No to log request data.
- Log response data to file - Select Yes/No to log response data.